
Laying parquet: floating, glued or nailed
Laying parquet step by step: the three methods, the first row, staggered joints, expansion gaps, doors and pipes.
Is the room ready, has the wood acclimatised and is the subfloor dry, flat and sound? Then you can start laying. Always read your parquet manufacturer's installation instructions first: they take priority over the general guidance below.
Three ways to install
- Floating: the boards are joined to each other, with a click system or with glue in the tongue and groove, and rest loosely on an underlay. Quick and with no adhesive curing time, but the floor sounds a little hollower and large areas need expansion joints.
- Glued: every board is glued to the subfloor over its full surface. Quieter, more stable and the best choice over underfloor heating. Requires very careful subfloor preparation.
- Nailed: the boards are secret-nailed through the tongue onto timber joists or a timber subfloor. A classic method for solid boards on a wooden structure.
Tools
- Tape measure, pencil, square and a chalk line or laser.
- A saw for cross and rip cuts, and a jigsaw for cut-outs.
- A jamb saw to undercut door frames.
- Spacers, a tapping block, a pull bar and a rubber mallet.
- For gluing: a trowel with the right notch and cleaning cloths.
Before the first board
- Decide on the laying direction. Boards running in the direction of the main light make the joints less visible. In a narrow hallway they are usually laid lengthwise.
- Measure the width of the room and work out how wide the last row will be. If it would be narrower than a few centimetres, rip the first row as well, so both edges end up roughly equal.
- Undercut the door frames to the height of parquet plus underlay, so the floor can slide underneath.
- Open several packs at once and mix the boards. This spreads colour and grain differences over the whole floor.
- Inspect every board before laying it. Once laid, it counts as accepted.
Floating installation, step by step
- Lay the membrane and underlay as described in our article on the subfloor.
- Start along the longest straight wall. Use spacers to keep the expansion gap open all round, usually about 10 mm or as the manufacturer specifies.
- Lay the first row perfectly straight. Walls are rarely straight, so stretch a line or use a laser and scribe the first row to the wall if needed.
- Join the short ends with the click system, or put water-resistant wood glue in the groove for a tongue and groove floor. Wipe off any glue that squeezes out straight away.
- Start the next row with the offcut from the previous one if it is long enough. Stagger the end joints of neighbouring rows generously, usually at least 40 to 50 cm or as the manufacturer specifies. Avoid a regular staircase pattern.
- Tap boards together with a tapping block, never directly with the hammer on the tongue or groove. Use the pull bar at the ends and for the last row.
- Rip the last row to width, minus the expansion gap.
- Remove the spacers and fit skirting and profiles. Never fix them through the parquet.
Glued installation
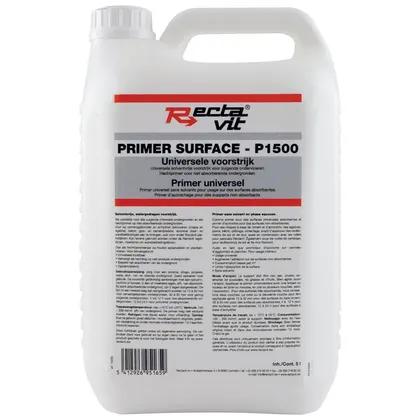
- Apply primer if the subfloor needs it and let it dry.
- Snap a straight starting line, usually a few boards out from the wall. Work from that line towards the walls.
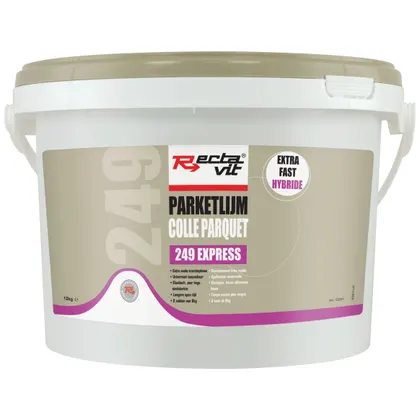
- Spread the adhesive with the specified trowel, each time over an area you can cover within the open time.
- Press each board down and slide it slightly into the adhesive. Check now and then that the underside is fully covered.
- Leave an expansion gap all round with glued floors too.
- Remove adhesive from the surface immediately with the right cleaner.
- Do not load or finish the floor until the adhesive has cured according to the manufacturer.
Herringbone and chevron start from a centre line, so the pattern sits symmetrically in the room. That calls for accurate setting out and is work for someone with experience.
Nailed installation
With nailed installation, the nails go through the tongue at an angle, so they stay hidden under the next board. The boards run at right angles to the joists or sit on a solid timber subfloor. Use the correct nails or cleats at regular spacing, and leave an expansion gap all round here as well.
Pipes, doors and transitions
- For heating pipes, drill a hole well larger than the pipe, cut out the piece, put it back and finish with a pipe rose.
- The door must still open freely over parquet, underlay and any rug. Trim the door if needed.
- Fit an expansion profile in doorways and over large areas if the manufacturer requires it.
After laying
An unfinished floor still needs sanding and finishing after it is laid. A prefinished floor is ready straight away, but often benefits from a first maintenance treatment. Protect the floor while other work is still going on. Rather not worry about the installation? Janssen Parketvloeren lays new floors: floating, glued or nailed.