
Profiles, skirting and stair cladding
Which profile to use at a transition or expansion joint, how to choose and fit skirting, and what to watch when cladding stairs in parquet.
The finishing around a floor has a lot to do with how neat the result looks. Profiles and skirting are not just decorative either: they cover the expansion gap that wood needs in order to move. A staircase in the same wood as the floor completes the picture.
Why you need profiles and skirting
Parquet expands and contracts with the seasons. That is why you leave an open gap all around the floor, at walls, door frames, pipes and stairs. The required width is in the manufacturer's instructions. As a guide, it is often about 10 mm. Skirting and profiles hide this gap neatly without locking the wood in place.
The main profiles
- T-profile or expansion profile: for a transition between two floors of the same height, and for expansion joints in large areas or in doorways between rooms. For floating floors, manufacturers often require a joint beyond a certain length or width, or in every doorway.
- Transition or adapter profile: for joining a floor that sits higher or lower, for example parquet to tiles.
- End or edge profile: where no skirting can go, such as against a sliding door, a glass wall or at the edge of a stair.
- Stair nosing: to finish the front edge of a step or the edge of a raised floor.
Profiles are normally fixed to the subfloor, not to the parquet itself, so the floor can keep moving underneath.
Choosing skirting
- Solid wood skirting: in the same species as the floor, attractive for a classic or natural look. It can be refinished or repaired later.
- Veneered skirting: a thin layer of real wood on a stable core. More stable and usually more affordable than solid.
- Paintable skirting: primed MDF to paint in the wall colour. A calm look that lets the floor stand out.
- Scotia or quadrant beading: small mouldings that let you keep existing skirting and still cover the expansion gap.
Pay attention to height and thickness. The skirting must be thick enough to cover the expansion gap completely. Taller skirting looks calmer in rooms with high ceilings.
Fitting skirting
- Let skirting acclimatise in the room for a few days as well.
- Cut corners cleanly. For internal corners, a scribed joint often gives a tighter result than a mitre.
- Fix the skirting to the wall with construction adhesive, nails, screws or clips, never to the floor.
- Leave a minimal gap between skirting and parquet, so the wood can move freely underneath.
- Finish joints and nail holes with a suitable filler or paint.
Cladding stairs with parquet
An existing concrete, timber or stone staircase can be clad with overlay treads and risers in the same wood as the floor. There are ready-made treads in standard sizes and treads you cut to size yourself. Winding stairs need corner treads or custom work.
- Let treads and risers acclimatise in the room for at least 48 hours.
- Remove the old covering and all adhesive residue until you have a firm, flat base.
- Check that every step is solid. Repair hollow or loose parts first.
- Measure every step separately. Old stairs are rarely perfectly even and square.
- Fit the riser first, then the tread. Work from the bottom up.
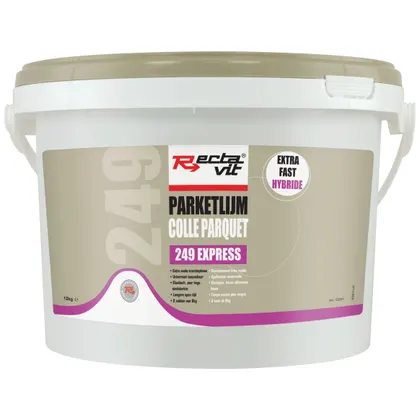
- Glue over the full surface with a suitable parquet adhesive, such as MS polymer or PU. Do not load the steps until the adhesive has cured sufficiently.
- Finish the front with a nosing and add an anti-slip strip if needed.
Stair parts are often supplied unfinished. Finish them with the same system as the floor, so colour and maintenance stay the same. Stair nosings take a lot of wear, so a hard-wearing finish is well worth it there.
Would you like the floor and stairs laid or finished for you? Janssen Parketvloeren lays parquet and also takes care of the finishing around it. Adhesives for stairs and profiles are available in the webshop.